You may need to install Adobe products you can do so by going to https://download.uky.edu/ , If you already have the Adobe products installed, but need to license them. Here is the tutorial for that.
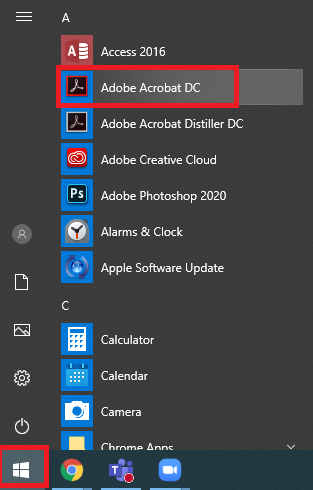
Open 'Adobe Acrobat DC'.
You can find ‘Adobe Acrobat DC’ by opening the Start menu using the Windows icon in the bottom left on the taskbar, then choose or search for and click on ‘Adobe Acrobat DC’.
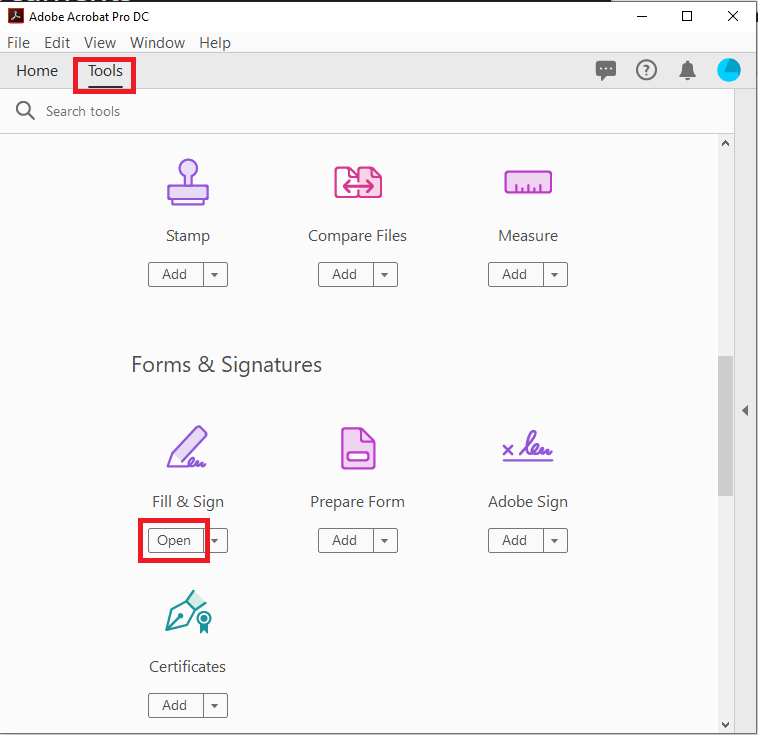
Go to ‘Tools’ in the upper left-hand side, then scroll down to ‘Forms & Signatures’ and choose ‘Open’ under ‘Fill & Sign’.
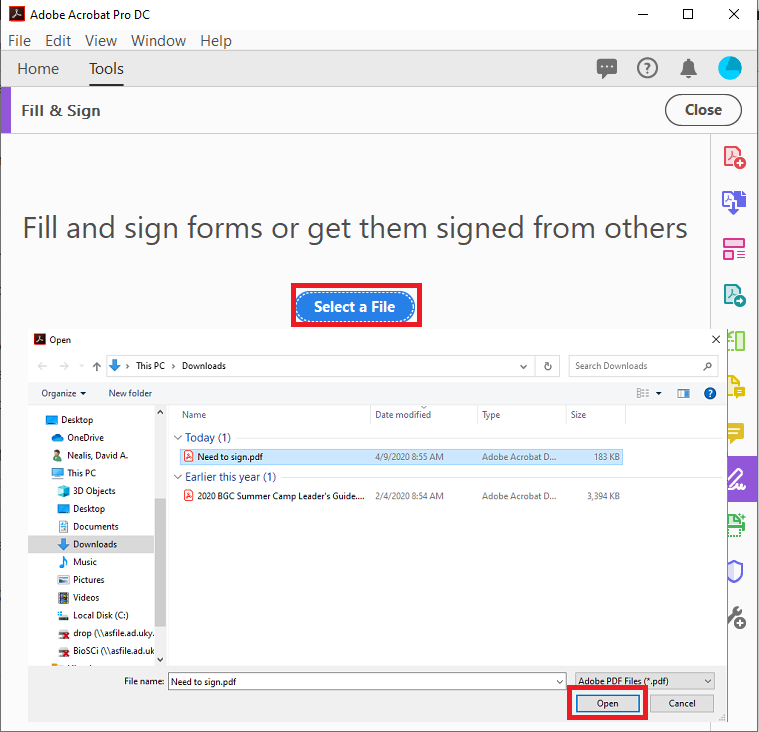
Click on ‘Select a File’.
Navigate to the PDF you want to sign, click on the PDF and click the ‘Open” button at the bottom right of the navigation window.
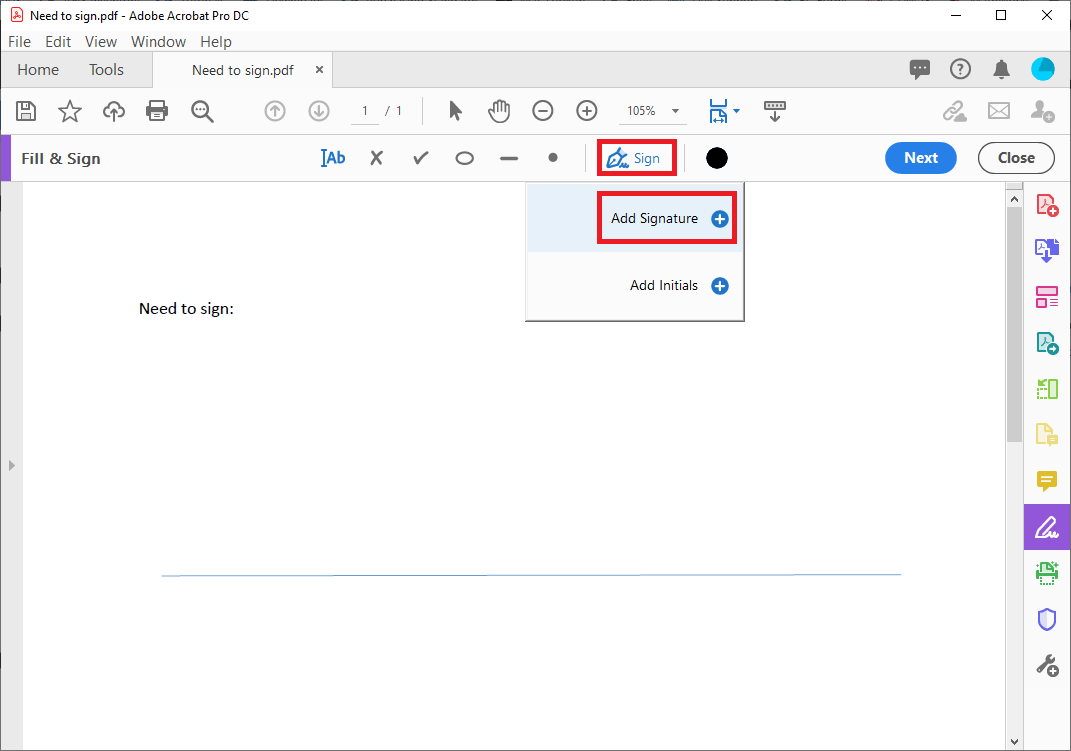
Click on ‘Sign’ at the top of your document. From the drop down window choose ‘Add Signature’.
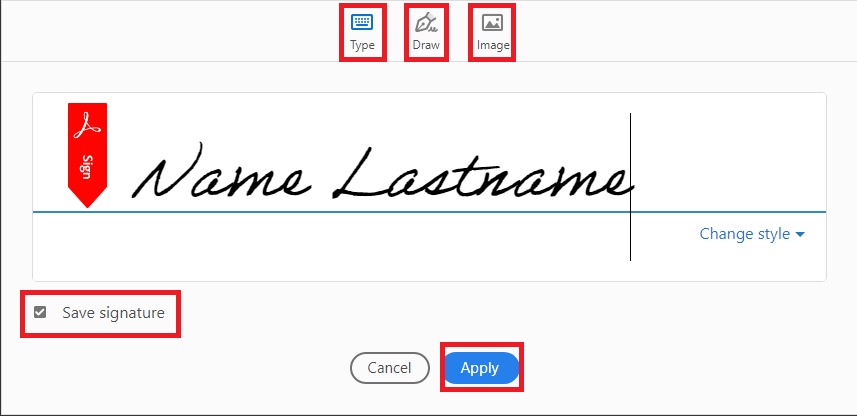
You have three options for signing a document. Pick the one you want to use and click ‘Apply’.
- You can choose ‘Type’ which uses hand written style fonts for your signature. You can change the style of the typed signature by going to change Style under the right of the signature line.
- You can choose ‘Draw’ which allows you to use the mouse and write your signature. Note: if your device is a touch device you can uses your finger or a stylus to write your signature.
- You can choose ‘Image’ which will allow you to select an image of your signature. You can get an electronic version of your signature by uploading a digitized physical document you already have, taking a picture of your signature with your phone and emailing it to yourself, or by scanning your signature using the department copier.
Note: Once you select the method you want to use for this signature there is a save signature checkbox to the bottom left. It is checked by default. If you do not want the chosen signature to be saved uncheck the box.