This guide is intended for users who are connecting to Ricoh copiers that do not have a UK ID card reader. If the printer you are trying to print to has an ID card reader on it, please see: https://www.as.uky.edu/adding-ricoh-secure-print-mac
These are the steps that are required to connect your Mac to a departmental copier. If you have updated to macOS 27 (Golden Gate) please delete the connection to your current Ricoh printer and start fresh with this tutorial.
Steps:
1.
Go to System Preferences.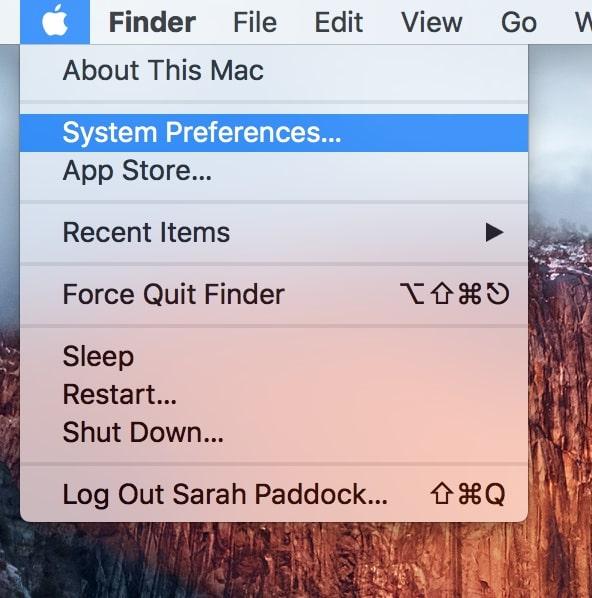
2.
Click on Printers & Scanners.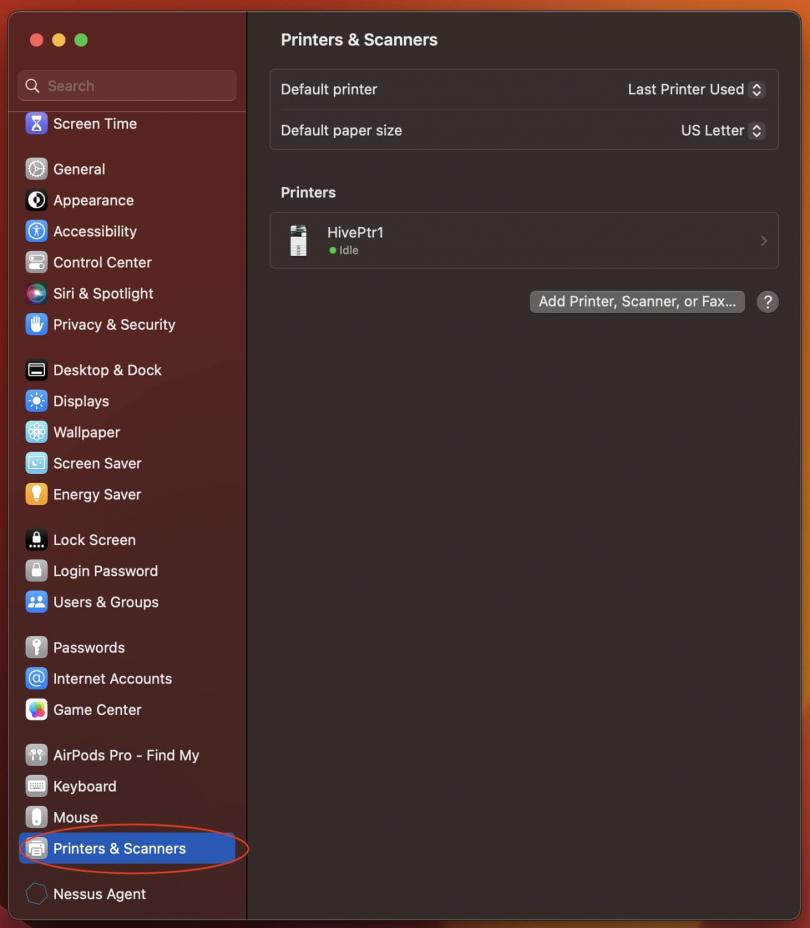
3.
Click on the plus sign to add a printer.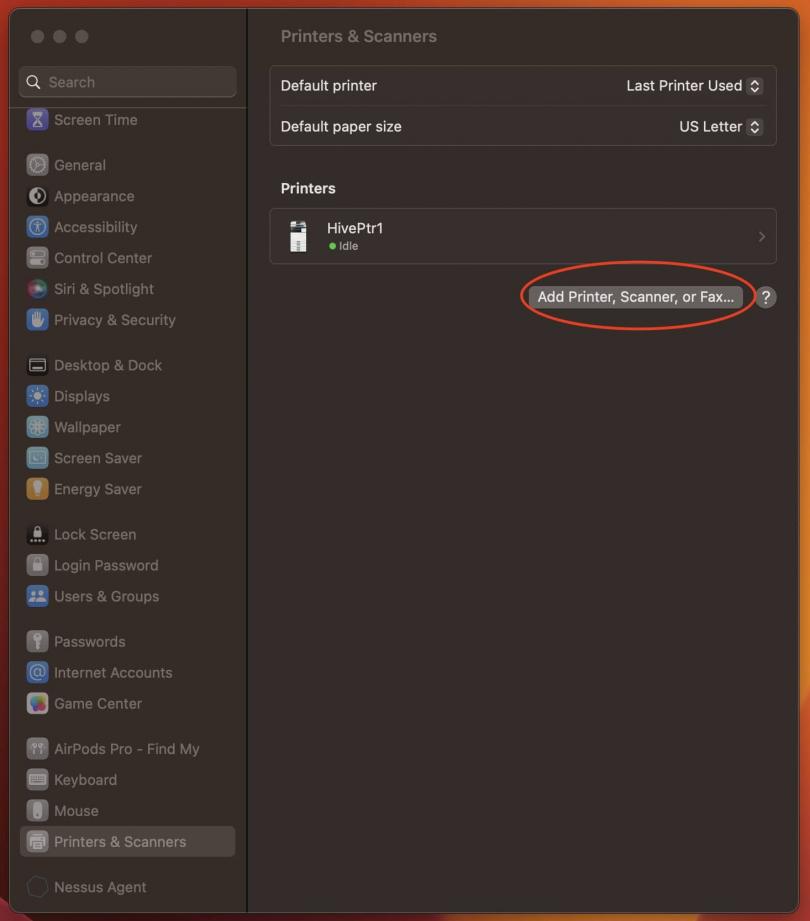
4.
Go to the IP tab and type in the network address of the printer. Protocol will be either Internet Printing Protocol, Line Printer Daemon, or AirPrint (if the printer has it enabled). We recommend trying AirPrint first as it is the cleanest solution. The network address will usually be in the form of an IP address such as "10.163.x.x" found on the printer itself.
After you enter the network address, if you have updated to macOS 27 (Golden Gate) make sure to select Generic PostScript Printer driver for the "Use" option. You will not be able to use finisher features of the printer (like stapling), however, regular printing will still work. If on a macOS prior to 27, you can still use the Generic PostScript driver, or you can download the respective driver for the printer and your macOS from Ricoh's website.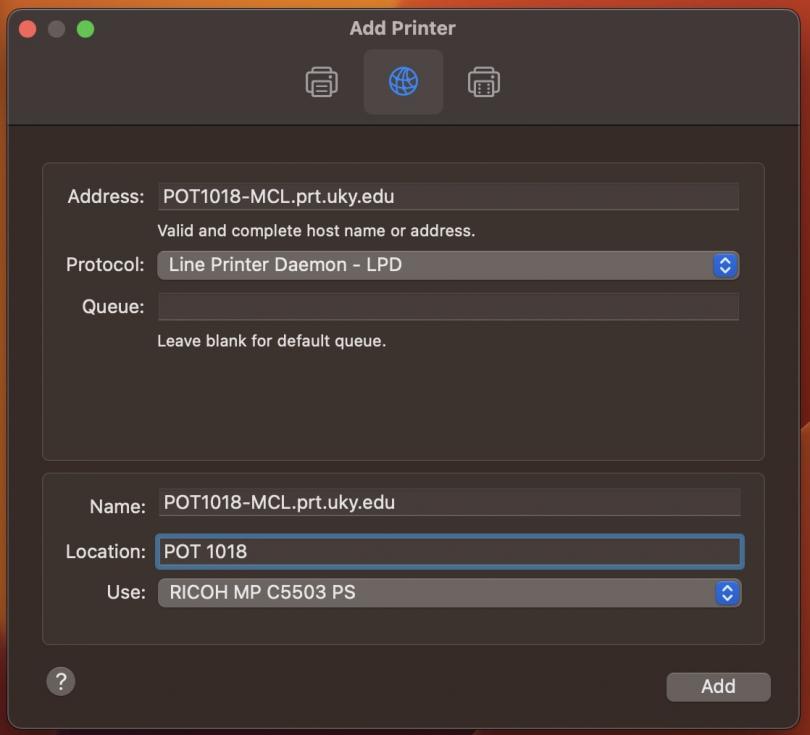
5.
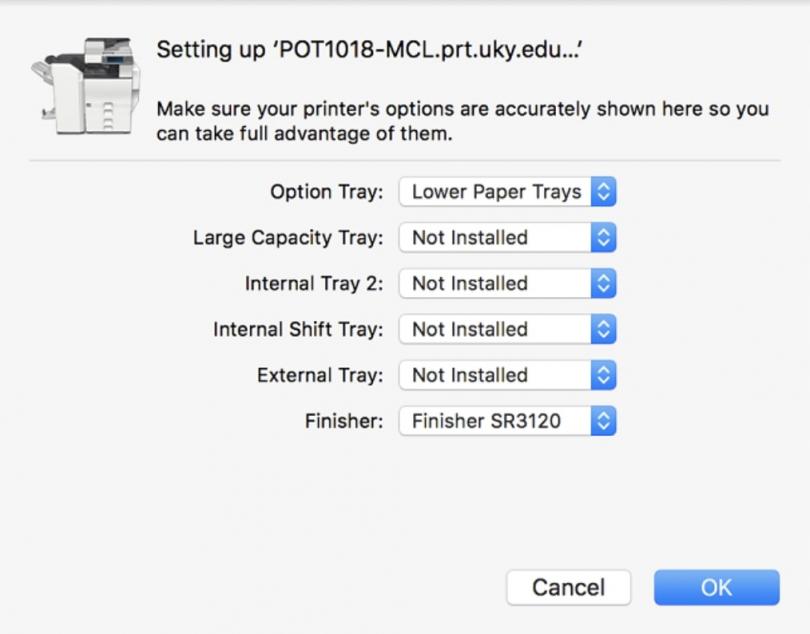
Adjust the printer options to match what is available on your copier. If you downloaded the Ricoh printer driver from their website and are on a macOS version prior to 27, you will see similar options to the image below. If on the Generic PostScript Driver, just click OK.
If you don't know what settings you would like to change, you can leave all the options on default.