
In your web browser, type in the network address of your Ricoh copier. If you do not know the address, Hive can provide it.
Lately we have been trouble navigating the address book in Google Chrome, so you might want to start with Firefox or Internet Explorer instead.
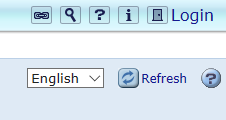
Click on Login in the upper right-hand corner.
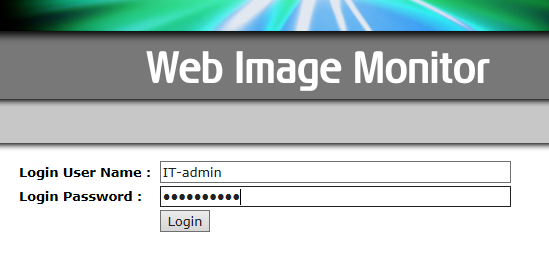
You will be taken to the printer login page. Enter your username and password that have been provided by MPS or Hive.
On the left hand menu, click on Address Book.
On newer devices, Address Book may be listed under Device Management.
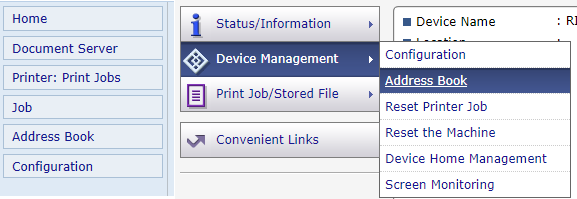
On the Address Book menu, click on Add User.

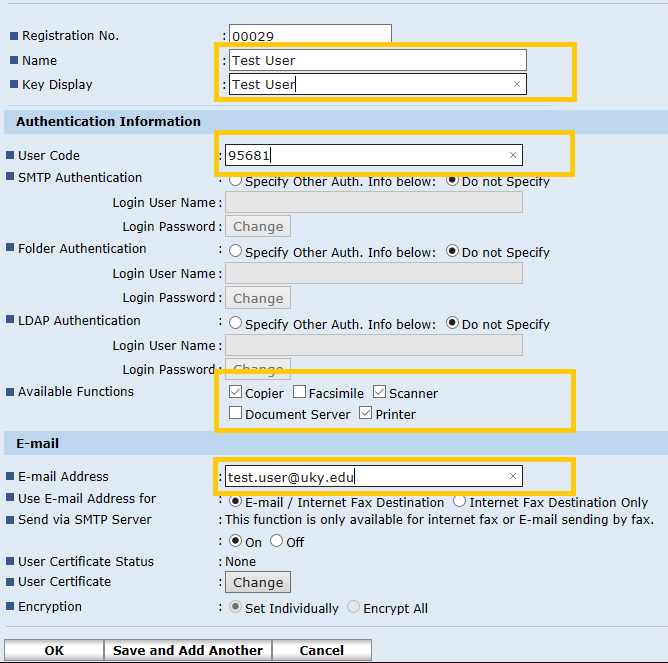
When adding a new user, not everything will need to be filled out. I have outlined the parts to pay attention to.
You will want to fill out Name, Key Display, User Code (for devices that have copying and scanning restricted by user code), Functions available to the user code, and Email Address for scanning.
The User Code should be assigned randomly and not based on FERPA-protected identifier (UKID or SSN) or any easily-identified piece of information. We have seen room numbers or phone numbers used in user codes, and this allows people to very easily guess each other's codes and potentially abuse that to make unauthorized/untracked copies.
Once you have filled out all the information in the last step, scroll down and click OK.
