
This tutorial walks you through the steps of adding a delegate in Outlook 2016 (Windows) who can send items on your behalf and view and edit your calendar.
Steps:
1.
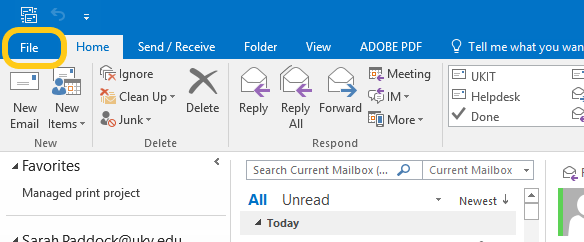
In Outlook, go to File.
2.
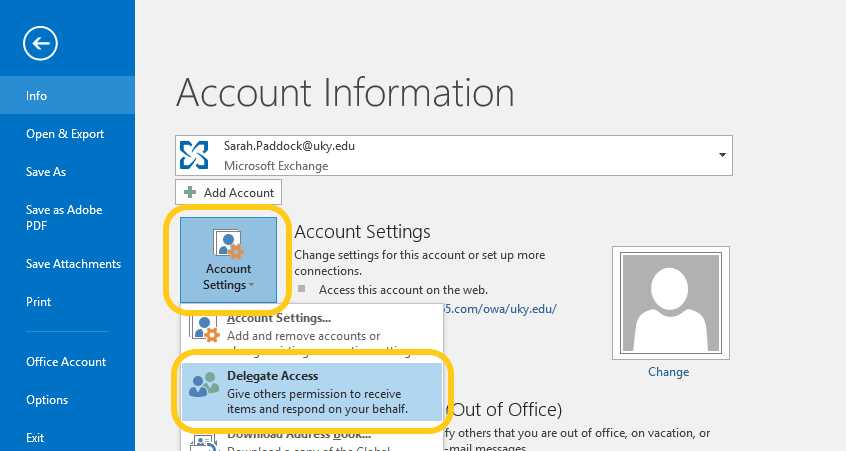
Click on Account Settings, then choose Delegate Access.
3.
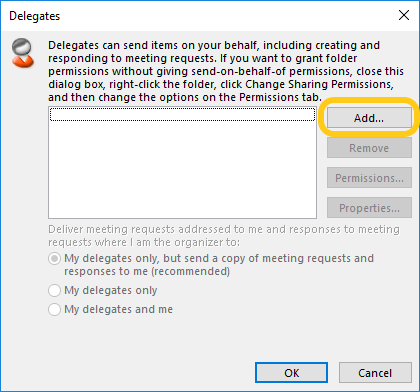
Click Add.
4.
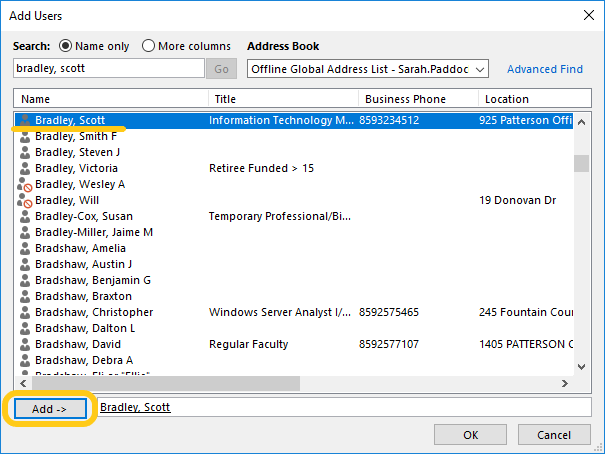
Begin typing in the name of your desired delegate, and when you locate the correct entry, click add.
You can select more than one person to add in this step.
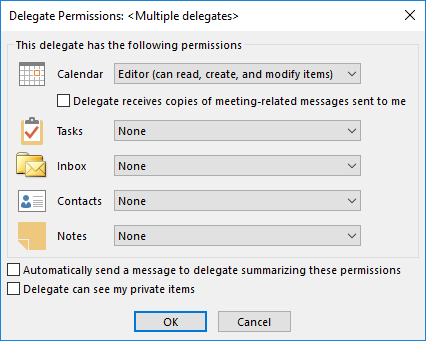
5.
Configure the next screen as shown. Click OK.
Clear the checkbox for "Delegate receives copies of meeting-related messages sent to me" and change Tasks to None.
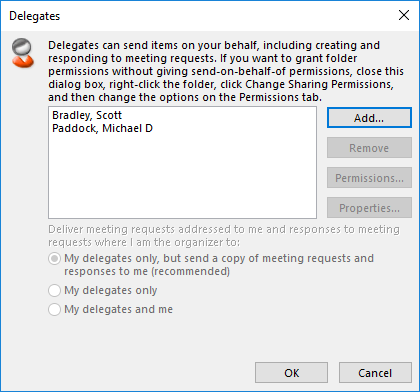
6.
Click OK to close out of the Delegates window and save your changes.
At this point, your Outlook may say not responding for several seconds while the change is being made.
Category: