
Blogs

Juice Your Orange

Fallon's principles of creative language (or juicing your orange):

1. Start from scratch
2. Demand a ruthlessly simple definition of the business problem
3. Discover a proprietary emotion
4. Focus on the size of the ideas, not the size of the budget
5. Seek out strategic ricks
6. Collaborate or perish
7. Listen hard to your customers and listen some more

Visit this website, for more creative processes.

http://juicingtheorange.com/

Peta Pixel Conflict Photography


I have always wondered how photographers could capture such dangerous moments in certain situations, and whether they would go all the way into those situations risking their life. Do people or enemies not harm them just because they have a press badge on? The movie Blood Diamond also made me ponder on this thought; how many photographers have died trying to capture an image representing a certain conflict? There are those people who may have given there lives in hope that they would capture an award winning photograph and then there are photographers who take a not-so-violent situation and skew it to make sure their photograph forces an award winning conflict. Watch this video below in order to see what i'm referring to.

Ruben Salvadori

PAUL MCCARTNEY

WELL.


I went to see Paul McCartney; a former Beatle, for those of you unfortunate people who do not know who he is; play this weekend at the ballpark stadium in Cincinnati, OH on his last show of his 'Paul Mccartney on the run tour.' This show was much more entertaining than I had expected. I mean he is a Beatle and I expected it to be great as it was and all, but I expected him to play a lot of his solo work in the phase I kind of ignored him, i.e. his work after band on the run and wings. However; he was not a disappointment in any way. It is amazing how much enthusiasm he has kept his entire career for playing for his fans. He made sure to notice all of his fans that were holding signs and constantly kept me laughing with his quirky ways. In between songs he always found a way to mention his fans' signs; such as, a man holding a sign that said "Sign my wife" while an arrow pointed to a woman to his left, who was also holding a sign which said "I'm the wife, sign me." In his second encore, Paul had the security guards bring the couple on stage, along with four women all dressed in Sgt. Pepper's Lonely Hearts Club Band costumes; to the stage to be viewed by the full ballpark's audience. Paul McCartney signs the wife's shoulder and hugs her, I'm sure that when the couple made those signs they didn't actually think that McCartney would bring them on stage to sign her, or even notice and point out their sign at the least. That's when it dawned on me that I was watching a member of the Beatles in concert, he was within 50 yards of him. My father, the influencer of my love of them, has never been able to say that he has seen a Beatle in concert. This thought is very interesting, but only for a second and that is all. And there you go.


Harry Donut Rain

OH MY GOD

If you like crisp images. You, my friend are in for something really amazing. HDR images are what you are missing in your life. They're cool, they're hip, they're HDR!

But really though, they're pretty cool.

Here is how it happens,

Take a billion versions of your solid image (really like 40 versions.) Each version of your image must be taken at a new shutter speed each time. This way you have every possible light exposure for your image. After you have your images, you will use the HDR program in photoshop to blend each one of the 40 versions of your image together so that they create one ultimate image (which contains every possibility for light exposure). Then in the HDR program within photoshop, you can make your tweaks as you please. And, BAM you've got yourself one mighty fine HDR photograph.

Here is a more descriptive tutorial from a website i love called psdtuts. Look at it.

Here are some really cool HDR images.

TUMMY TUCKIN'

I JUST LEARNED HOW TO DO A TUMMY TUCK IN PHOTOSHOP! That is serious skill. ALL that you have to do is LIQUIFY! I know it does sound dangerous; i know, it sounds like you will be working with mercury or lava or something else, but it is so much easier than that!


Step 1: Select what area you wish to LIQUIFY!

Step 2: Go to Filter and then go to Liquify!

Step 3: Use the Freeze Tool to (precisely) choose the area of your image in which you wish to tuck other parts of the image into. In other words, the area you wish to freeze in place so that it DOES NOT MOVE!!!!!!!

Step 4: NOW use the Forward Warp Tool in order to TUCK it; whatever it is; under your frozen area! Now be careful it could be tricky, but not too tricky to rock all night.

Step 5: RELAX, you did it!

ISN'T THAT A GREAT LESSON THAT EVERY PHOTOGRAPHER IN TODAY'S AMERICA WOULD LOVE TO KNOW??? I think so. Most people don't know these easy tricks and are too busy to find out, that's why it's our job to learn it and charge them a high rate!!!

p.s.

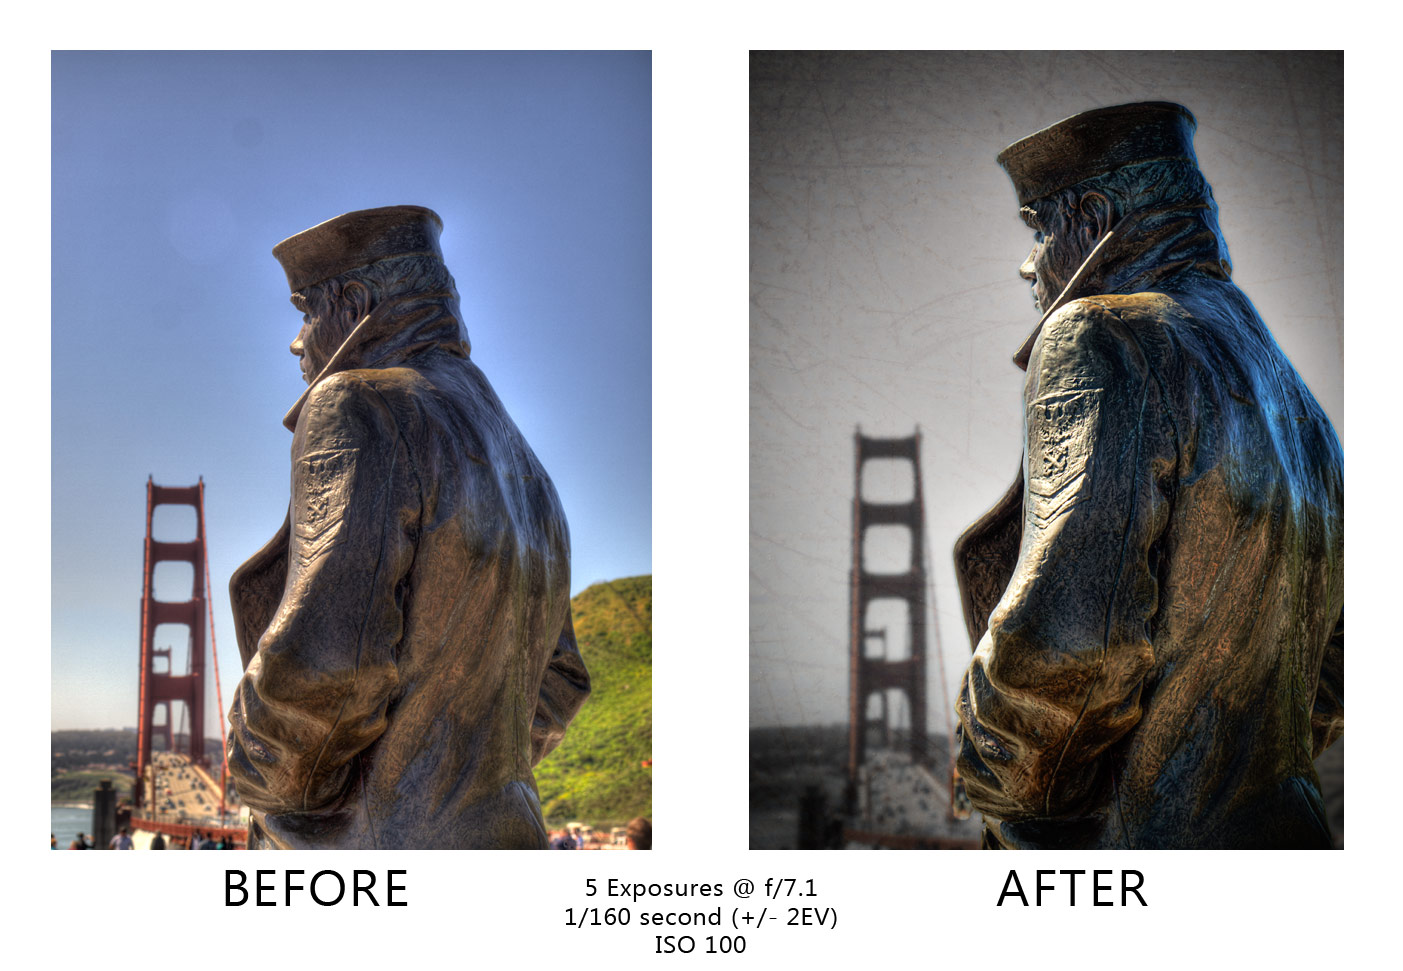
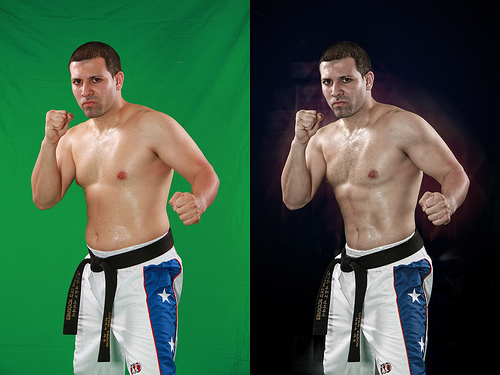
I've enclosed some before and after images that i found on the internet...

Stay tuned for next time...

over and out