
This tutorial is for creating standard newsletters using the college's subscription to Campaign Monitor. You will need to have been given your own login to their website at http://cm.as.uky.edu and have had a newsletter template created for your department. To learn more about our newsletters or get access, please click here.
Go to the Campaign Monitor website and login with your credentials.
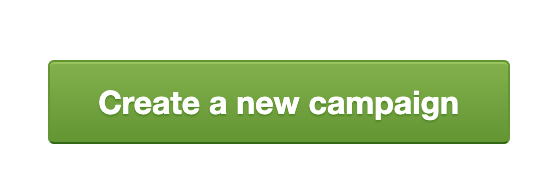
Click the "Create a new campaign" button from the right sidebar.
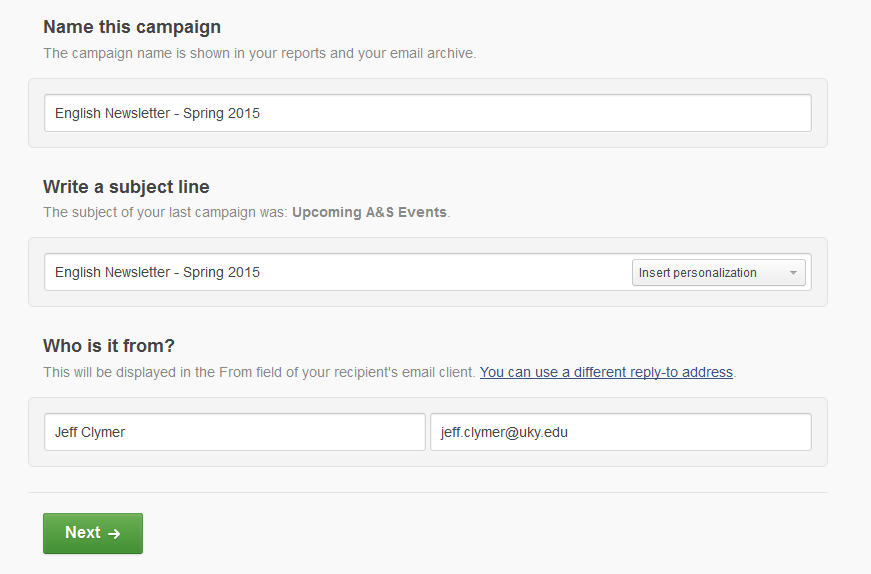
Give your campaign a name, subject, and sender details.
Recommended name and subject format:
[Deparment Name] Newsletter - [Semester or Month] [Year]
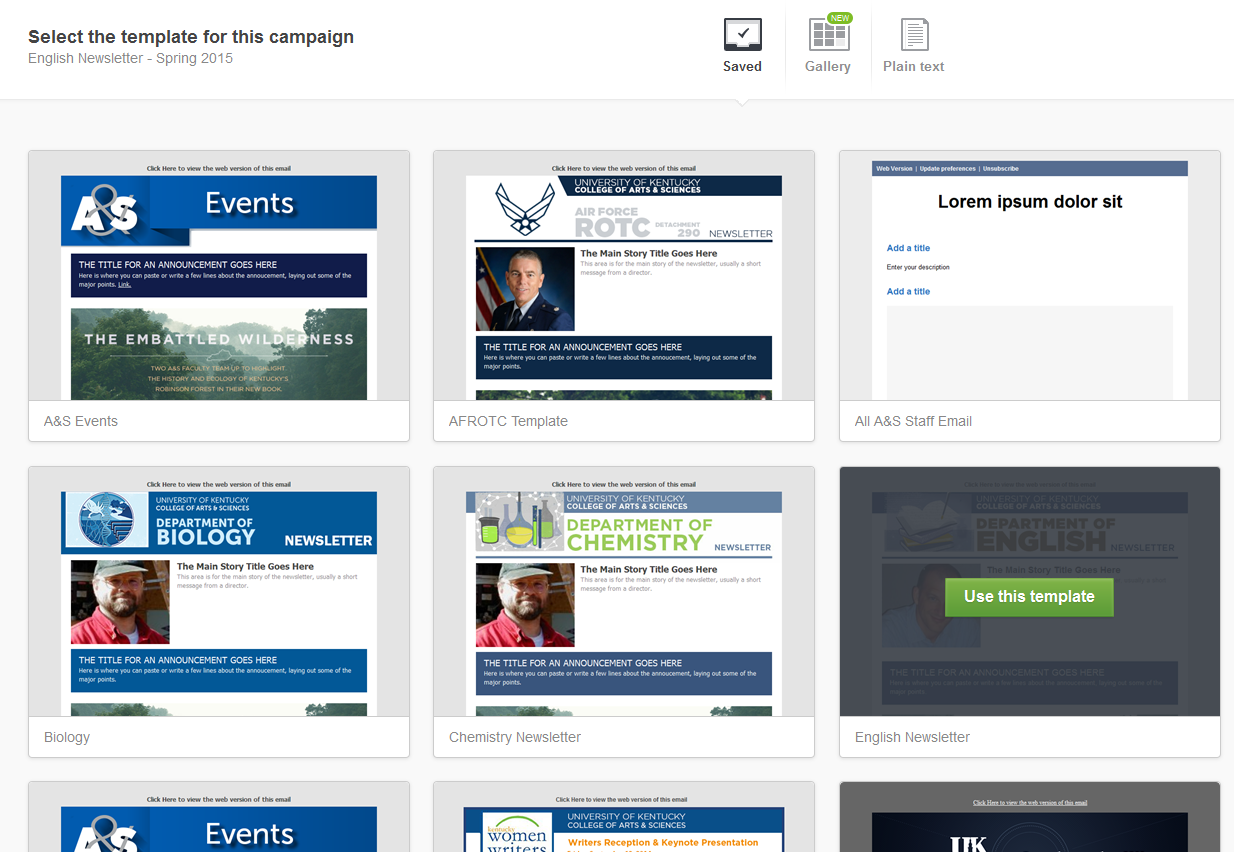
Choose the template for your department.
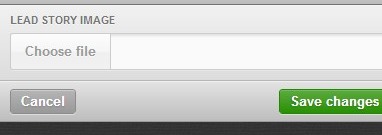
Click Edit on the main story picture.

Delete the current main story image.
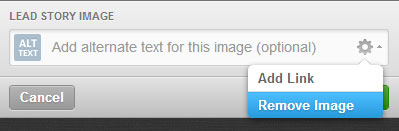
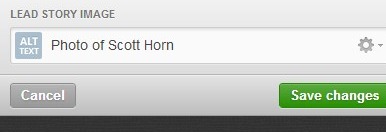
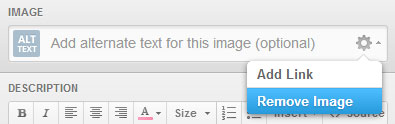
In the left sidebar, click on the gear icon to the right of the white input field.
Click "Choose file" and pick the image you want to use.
Give the image descriptive ALT text.
This text appears when a user can't see images through their email, and is used heavily in screen readers for the visually impaired. It is required for all images to comply with accessibility guidelines. Click inside the white box to type.
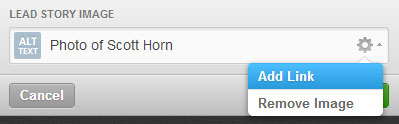
(recommended) Link the main image to a webpage.
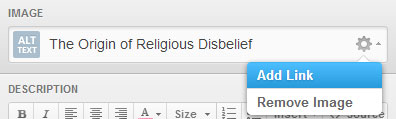
If the main story has a longer version online, you should link it to the image. If not, it is still recommended you link the image to your department's main website or another general page. Use the gear icon again, and select "Add Link".
Change the title of the main story.
After clicking the edit button, change the title in the left sidebar.

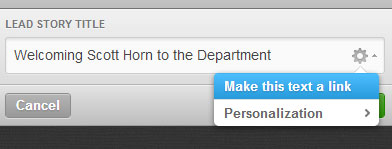
(Recommended) Make the main story title a link.
The title should link to the same webpage as the main story image. Click on the gear icon in the field, and then on "Make this text a link".
Change the body of the main story
After clicking the edit button, change the text in the left sidebar and click "Save changes". Note that to link text in the body, highlight it and click "Insert" and then "Link".

Click the edit button on the current announcement.

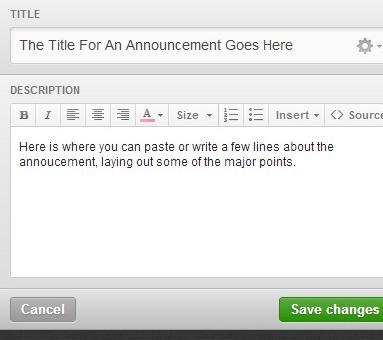
Give the announcement a title and description.
Link the announcement title.
The announcement title should link to the full story version that exists on the website. Click the gear icon in the title field and choose "Make this text a link". Note that if you want to include links in the body (like for read more) you can click "Insert" and then "Link" in the description field editor.

(optional) Add additional announcements.
Click the "+Add New" button in the corner of the current last announcement, and then click "Text only". Repeat the steps above for editing the first announcement to change the text.

Add a feature story.
Click the "+Add New" button in the corner of the announcement/feature that should be before your new feature, and then click "Feature Banner with Text".

Save the feature banner from your department's website.
When you go to the page with the featured story, right click on the feature banner image, and choose "Save image as...". Save the image somewhere you will remember, so that you can upload it in the next step.

Remove the place-holding feature banner.
Click the gear icon in the image field, and choose "Remove Image".
Upload the feature banner you saved.
Click on "Choose file" and pick the feature banner you saved.

Use the feature's title as the banner ALT text.
ALT text is required for all images to comply with accessibility guidelines. Click inside the white box to type.

Link the feature image to the feature story.
Click the gear icon in the image field, and choose add link. You should link the image to the featured story's page on your website.
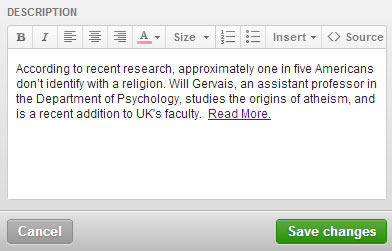
Add text under the feature banner.
This is generally the first 1-2 sentences from the featured article. It is good practice to put a "Read More." link at the end of the text that also links to the featured article.
(optional) Add more featured stories.
Click the "Add New" link on a feature or article to insert another story below it.

(optional) Rearrange your content.
You can drag stories using the button with four arrows. Rearrange them in whichever order you prefer, however the main story has to stay at the top.

Click the preview button.
Once you have finished your email layout.

After looking over your email, click on Define recipients.

Choose the A&S Web Team option and click the Next button.
You can look over the details from the next page. When you are finished, click "Test and Define Delivery".

(optional) Send the email to yourself.
This page will let you test send the email to any address. You can do this, or click on the "Skip the test" button.

Let us know you're ready to send