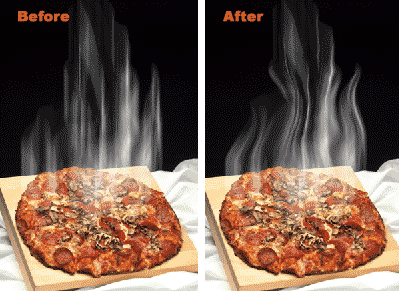
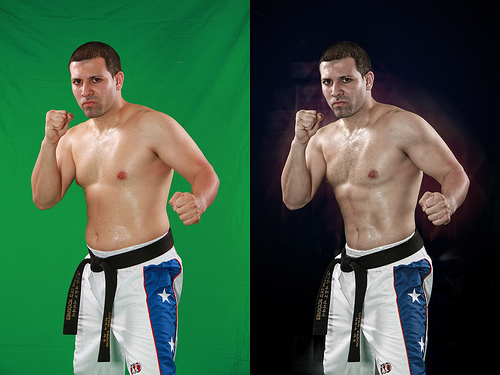
I JUST LEARNED HOW TO DO A TUMMY TUCK IN PHOTOSHOP! That is serious skill. ALL that you have to do is LIQUIFY! I know it does sound dangerous; i know, it sounds like you will be working with mercury or lava or something else, but it is so much easier than that!
Step 1: Select what area you wish to LIQUIFY!
Step 2: Go to Filter and then go to Liquify!
Step 3: Use the Freeze Tool to (precisely) choose the area of your image in which you wish to tuck other parts of the image into. In other words, the area you wish to freeze in place so that it DOES NOT MOVE!!!!!!!
Step 4: NOW use the Forward Warp Tool in order to TUCK it; whatever it is; under your frozen area! Now be careful it could be tricky, but not too tricky to rock all night.
Step 5: RELAX, you did it!
ISN'T THAT A GREAT LESSON THAT EVERY PHOTOGRAPHER IN TODAY'S AMERICA WOULD LOVE TO KNOW??? I think so. Most people don't know these easy tricks and are too busy to find out, that's why it's our job to learn it and charge them a high rate!!!
p.s.
I've enclosed some before and after images that i found on the internet...


Stay tuned for next time...
over and out
