Many of the printers in the college are secured with a user code, and if the user code is not entered correctly on the computer that is sending a print job, the print job will not complete. Locked print allows jobs to be sent securely to the printer and held there until you actually arrive at the printer to pick them up.
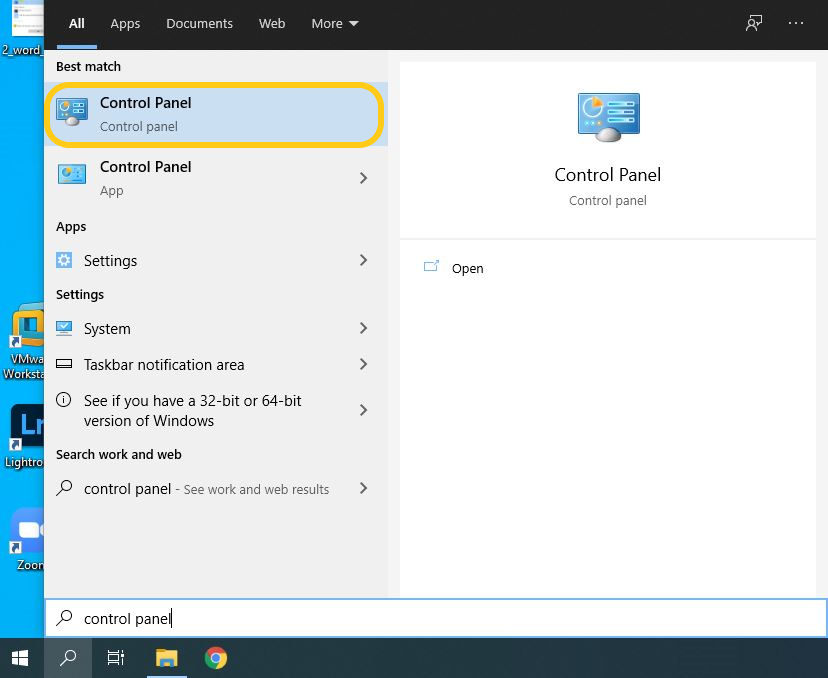
In the Windows 10 search box, type in 'Control Panel' and click on the Control Panel app.
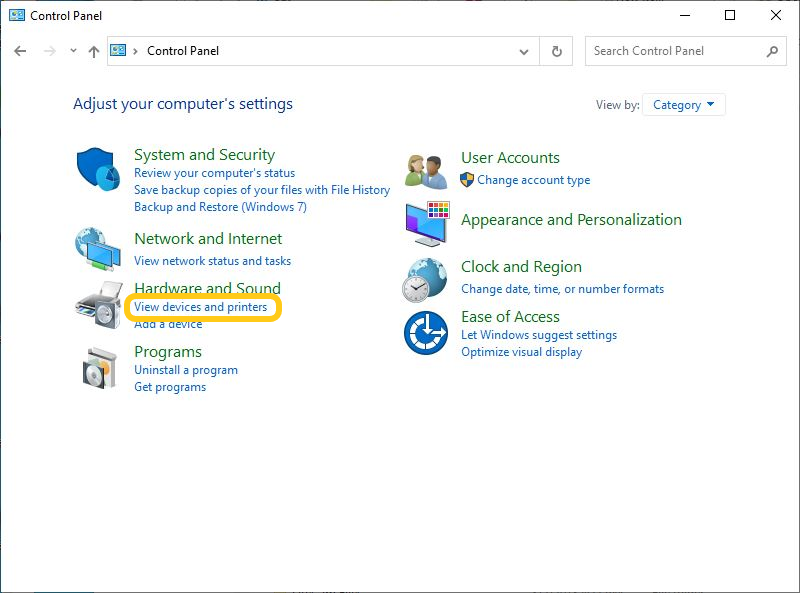
Under the Hardware and Sound heading, click on 'View devices and printers'.
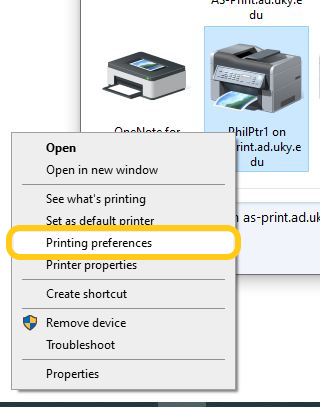
Right-click on the printer that you want to set up, and choose 'printing preferences'.
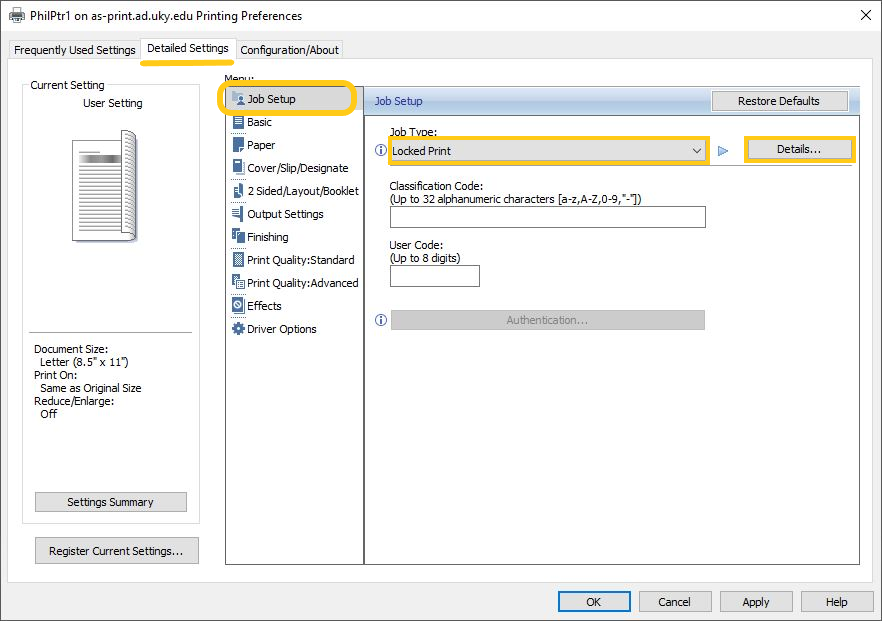
Go to the Detailed Settings tab and select Job Setup under Menu. Change Job Type to Locked Print. Then click on Details.
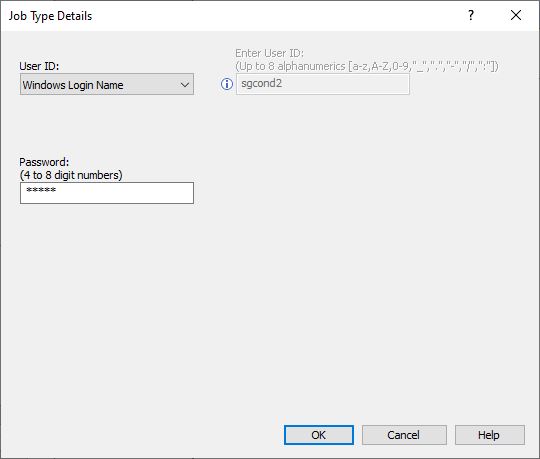
In the Details window, enter your linkblue ID for User ID and your printing code for the password. Click OK.
Your linkblue ID may be supplied automatically.
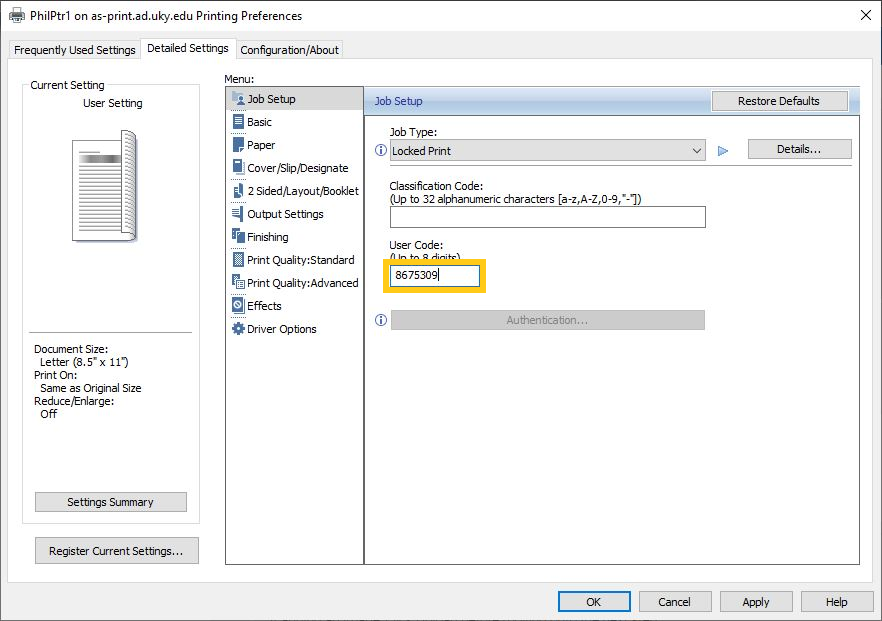
Back under Job Setup, enter your printing/copy code under User Code.
If your department restricts printing with user codes, your print jobs will not succeed if your user code isn't entered on this screen.
Click OK to close the Printing Preferences dialog box. You are now ready to send print jobs.
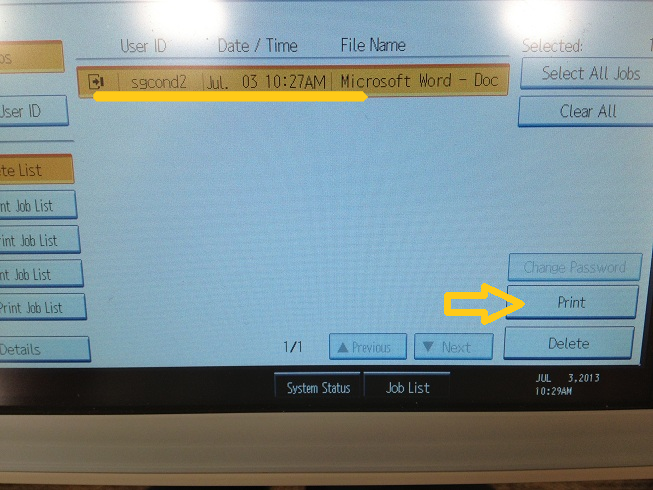
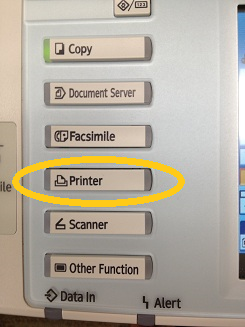
To print a locked item that you have sent to the printer, click on the Printer button.
Then click on Print Jobs.
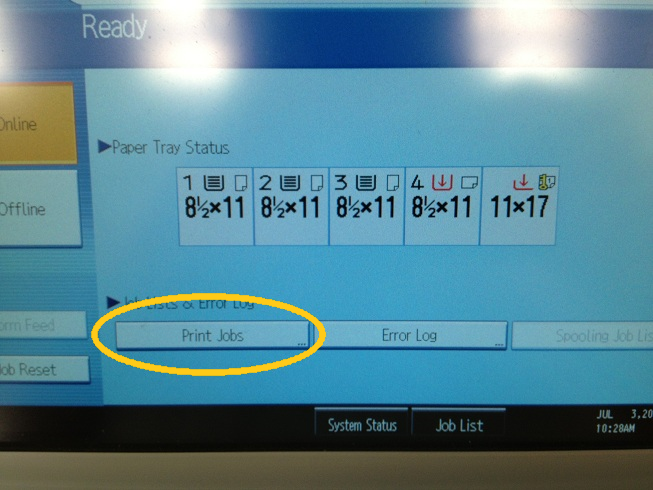
Click on your item to select it, and then click print. Enter your password when prompted.